
Walt Disney World. My second home. I love all things Disney but it is so much more than the theme parks. I LOVE the architecture of the Walt Disney World Resort in Florida. Each resort is its own individual themed world. I love the way the Disney Imagineers utilize stone work. It is simply gorgeous. Two of my favorite stone walls are at the Port Orleans Riverside Resort and the Beach Club.

Once I knew I wanted some type of stone accent in my living room, I looked for inspiration photos. The one below, in my own camera, was the look I was hoping to achieve. This is from the entrance of the Beach Club, one of my favorite places on Disney property.

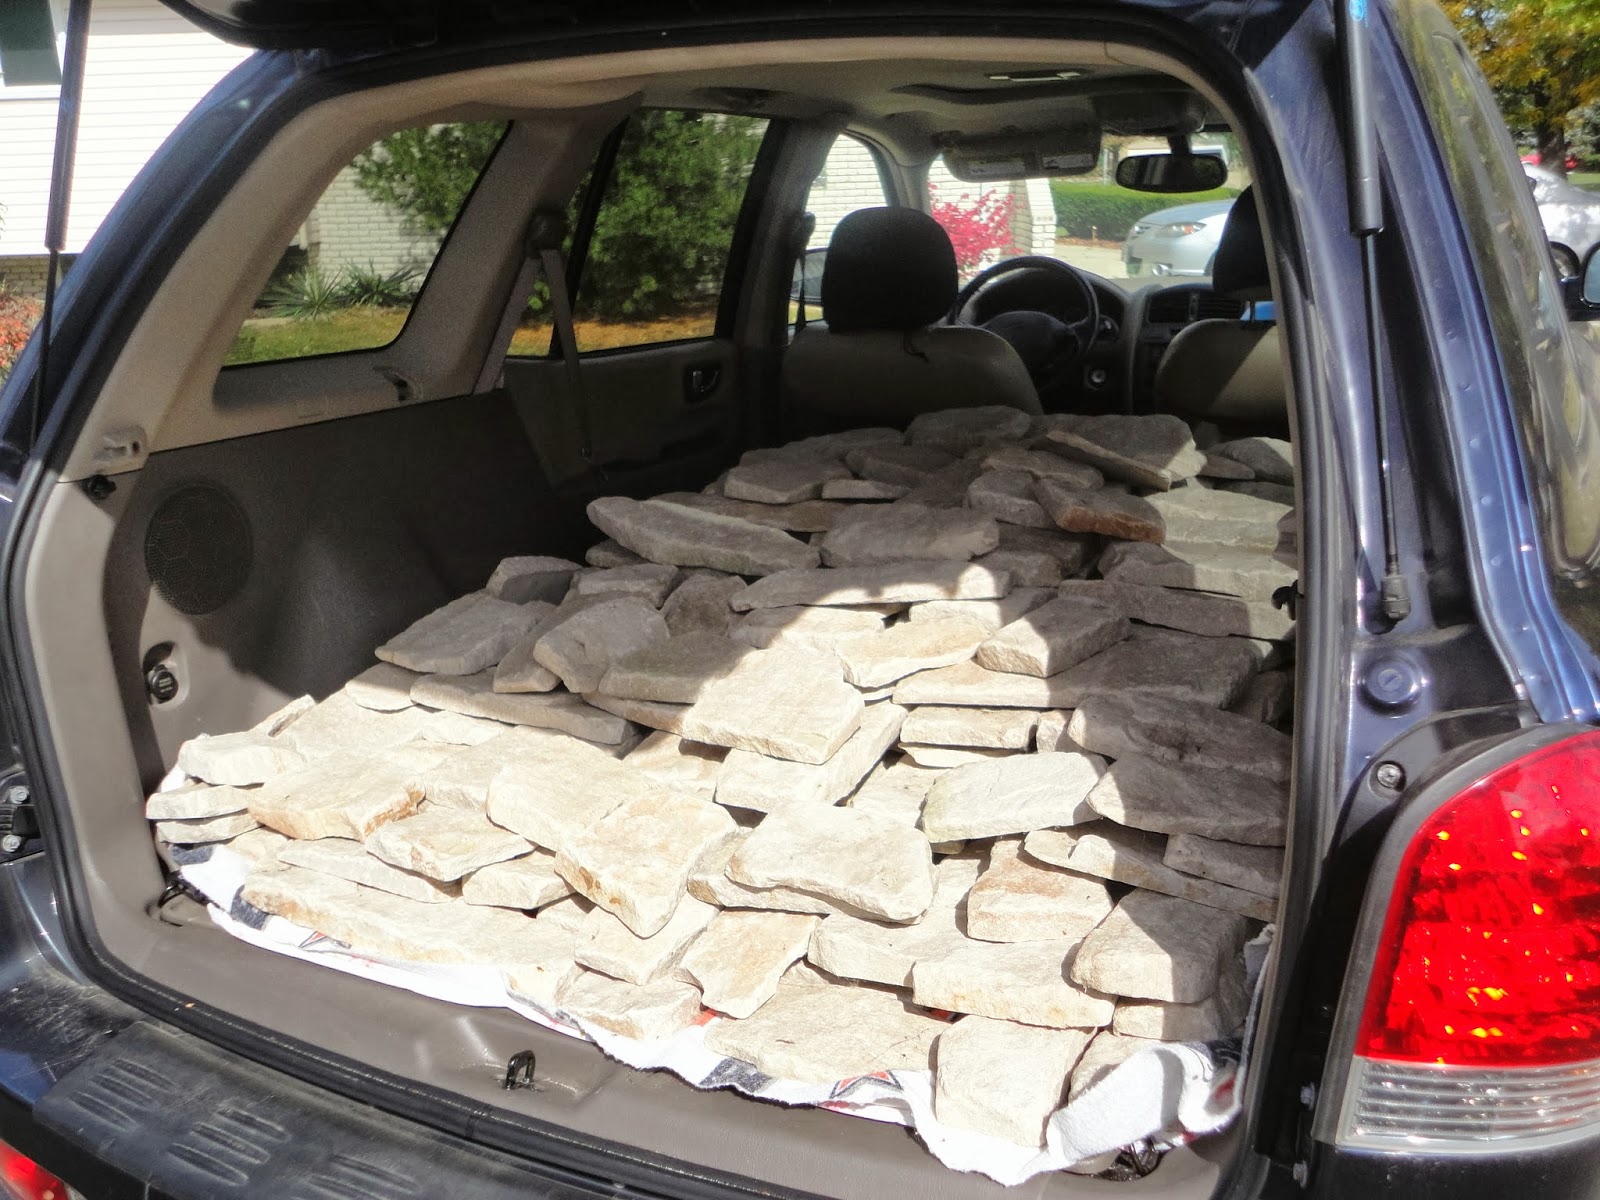
Enter Craigslist. I found a listing for left over stone from a patio paver project. It was actual stone as opposed to veneer and was about 10 square feet. So I bargained the price down, drove up and loaded it into the car. I was SO worried the tires were going to explode on the way home but thankfully, I made it home. PHEW!
I unloaded it - not a fun task - and stacked it on the driveway. I had never done any type of project such as this so I Googled a lot.

So up went the waterproof barrier first applied with a staple gun. So far so good! Next game the metal lath. This is a nightmare. In the checkout line, I cut my fingers on the rough edge which is like razor sharp. I started to bleed all over the place - so embarrassing! I was on my hands and knees wiping blood up off the floor - it was quite gross. This was the worst part of the job. Buying it, transporting it and applying it with an electronic staple gun.


Then I had to lightly score the mortar for better adhesion. And as Mary Poppins says, "In every job that must be done, there is an element of fun". So I scored the wall with a few Mickey heads. LOL.

The first stones in place. I placed a solid piece of wood to serve as a level surface to ensure an even application.

More progress. When I stepped back and looked at this - I hated it. It looked very messy with no flow. So, I pried off the stones and started over. I hated to do it but in the end, I was much happier! As Queen Clarisse says in Princess Diaries, "Better. Much better!"

And this is where I am right now. 2/3 done - getting really excited!

Since the stone is real, the weight is considerable. Since I am concerned about the floor supporting the weight, I am going to go under the crawlspace with a support jack. I see they are about $40 and can allow for an additional 18,000 pounds of weight support. They look like this...

I am also attempting a Pinterest pin regarding DIY air vents. These are in such a prominent place that I didn't want to put back the conventional vent style covers. Hopefully this won't be a Pinterest fail. :-O

So that is my wall progress. I hope I can post a reveal by Friday. I am quite excited to see this messy project finished. Have a great weekend! Go IRISH - beat Oklahoma.

No comments:
Post a Comment
Note: Only a member of this blog may post a comment.