Friday, September 28, 2012

Foyer Progress - Front Door Spruce Up!


The foyer is coming along nicely and I just finished a project I had absolutely no intention of doing - my front door.  It was a very pretty solid oak door and sidelights but the other night I got "an itch" to maybe paint it.  I know wood purists will be furious but I did keep the actual door natural wood - I just painted the side lights and added a header.  It wasn't much work and I am thrilled with the new look.


This is what I started with.  I KNOW I KNOW - it is a solid oak door and not meant to be painted.  But I just found it to be a little blah.  I wanted a change and I struggled for days whether or not to touch this door with the dreaded white paint brush.  :-)


So, I started painting and almost as sure as I finished a white side light, I was terrified I had make a mistake.  Even when both sidelights were done, I wasn't quite as thrilled as I hoped I would be.  It needed something - it was too boring.  So I looked around for some scrap wood and I found a 1 x 2, 1 x 4 and 1 x 6 in various colors.  I painted them all ultra white with cabinet and trim paint  - so thick and creamy its awesome!


I nailed them together to form this header.  


I added a piece of crown molding and wa-lah!  Instant header.  I secured it to the wall with two nails into the studs and some liquid nails.  

I really like the result - it adds character and ties in with the rest of the white molding.  I have to finish painting it and filling some trim holes but I am quite pleased.  


Linking up to the awesome parties - don't we all love a party?  :-)


Domestically Speaking


Sumo's Sweet Stuff


shabby creek cottage

The Shabby Nest


The Stuff of Success

Photobucket


Boogieboard Cottage


Sunny Simple Sundays at: 
http://sunnysimplelife.blogspot.com/


Metamorphosis Mondays!
Between Naps On the Porch


Wednesday, September 26, 2012

Foyer Makeover - Painted "Hardwood Floors" - I love them!


Here is the finished product with the high gloss varnish for floors.  Wow - it really made them POP when I put it on.  Just when I thought they couldn't look any better... I love this!  It actually kind of makes me laugh - when I came up with the crazy idea, I had no idea they would turn out this realistic looking.  So much better than the white ceramic tile... I wasn't a fan.  :-)


Ok this is a work in progress but I am so excited that I had to share before they are completely done!  How funny is this?  This is my underlayment after tearing up tile!  I totally love it so far....


I love the deep brown color against the bright white baseboard and baby yellow walls.  


Here is more of a close up picture - I know they are EXACTLY like hardwood floors but for the price - which was about $50 including a can of poly for $40, I think they look pretty cool! .


Jumping off point - lovely underlayment flooring complete with staples and paints stains.  :-)


This is the typical floor I started with.  Big gaps, staples, nail holes, etc.  I didn't fix everything because would have taken so much time and it wasn't important to me that they be perfect.  As long as they looked great, the holes, scraped and such add character and they look "hand scraped" like in an old Irish tavern.


This type of can opener is my secret weapon for removing staples.  It works WONDERFULLY!  You put the bent point under the staple and push down.  The pointy part can even be used to pry them up.  I bought one at GoodWill for a quarter.  Try it - you will be so happy they come up so easy will virtually no damage to the floor.


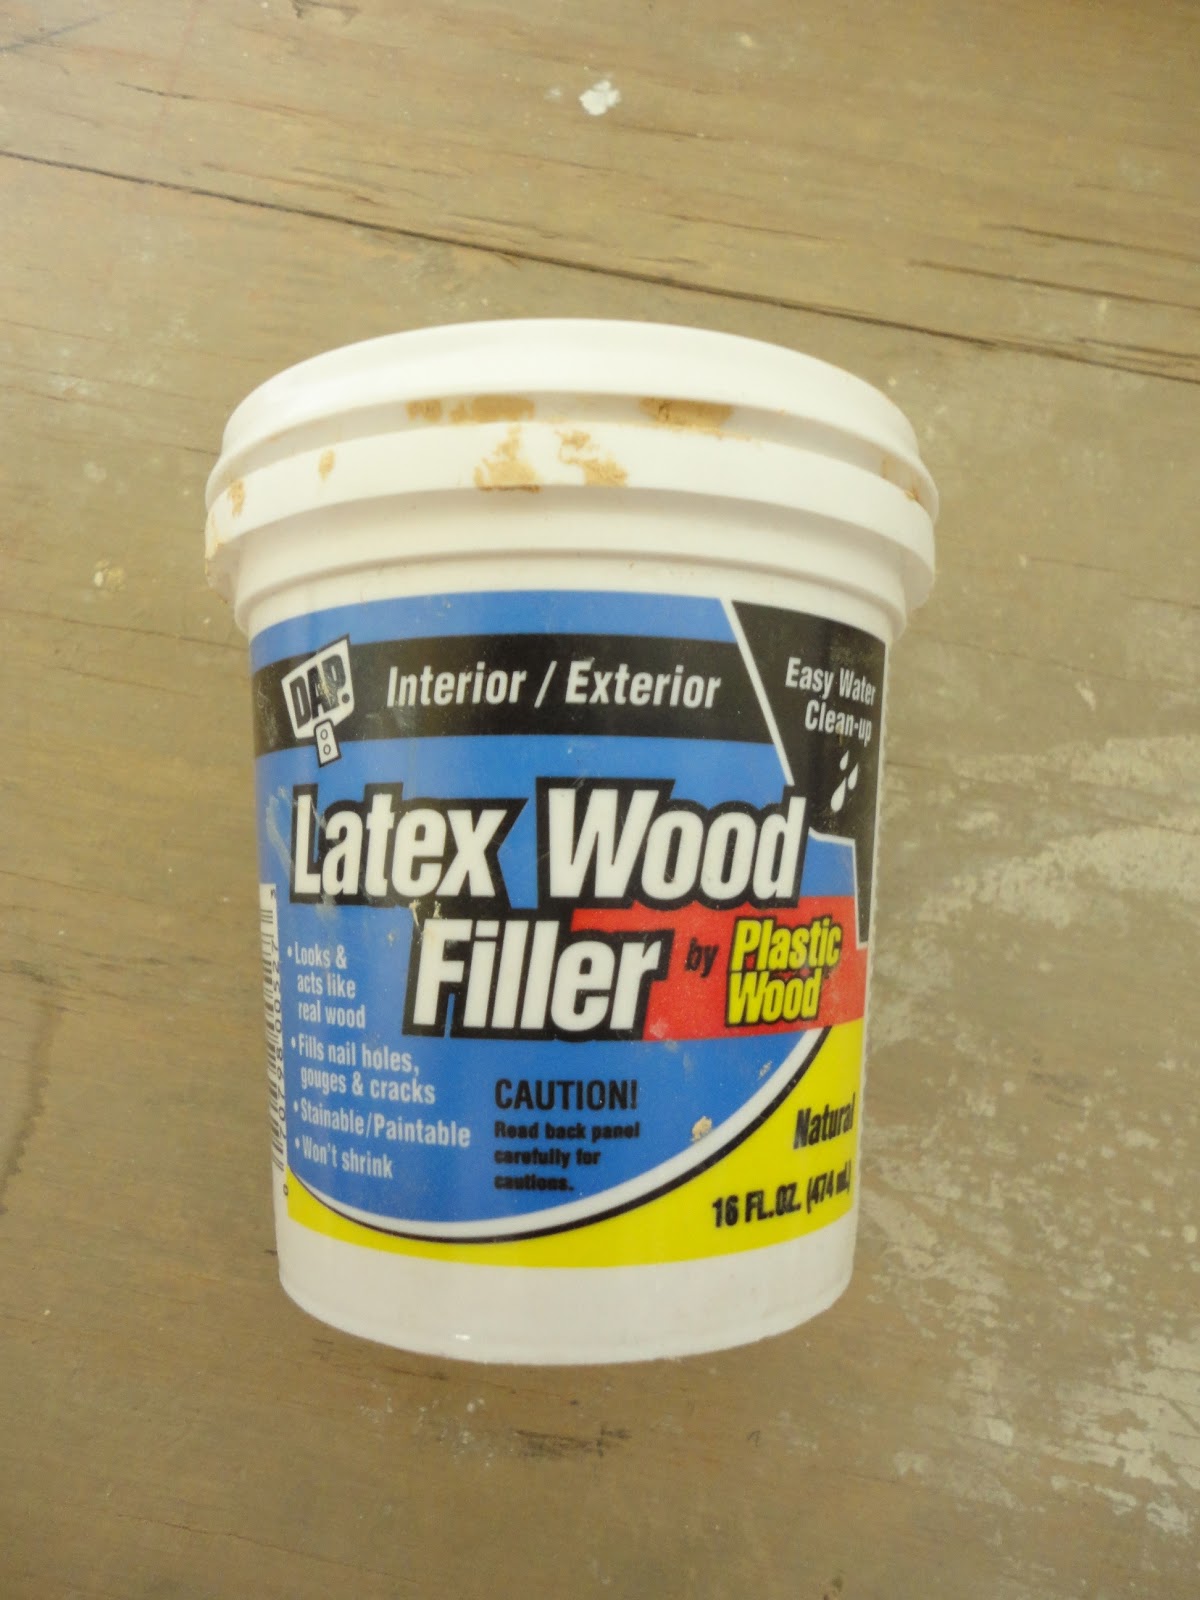
Any of the large gaps and staple holes, I did fill in with DAP latex wood filler.  I used a lot of this stuff along with a putty scraper to make sure the surface was as smooth and level as possible.


After it was all filled in, it looked like this.  Then I primed right over it for a smooth surface.


This is where I left off on day one when I got to this point.  Fixed and primed with white primer - a smooth surface just waiting for something....


So I found brown Porch and Floor paint on clearance at Wal-Mart for $5.00 a gallon - YUP - only $5 bucks so I bought two gallons.  It helped but still wasn't what I was looking for.  


So I bought a pack of thick Sharpies and proceeded to add "plank lines" to see if that would give it a more realistic look.  Well it helped but it was still so BROWN.


Enter the faux woodgraining kit.  I have seen everyone use this on doors and tables but never on floors but I figured why not - if it as disaster, I can always paint over it.  I made a black glaze out of black paint and a touch of water and started to experiment.


I brushed the glaze on and then used the woodworking tool to make knots and lines.  It was actually fun!  And when I stood up and looked at the progress - R U KIDDING ME?  They looked Sweet!


This is the result I came up with.  The floors are dark, the holes and dings and other imperfections make them look like they are "hand scraped" how funny is that?

I still have to touch them up and add a few coats of poly but I think they are awesome!  Someday I will be able to afford real wood floors but until then, these will do just fine.

I absolutely love the result and will probably continue it into my living room and dining room as well.


Linking up:

Blissful and Domestic

Monday, September 24, 2012

Foyer Makeover - Day 2: Chandelier - a pleasant surprise!


My beautiful Mom, God bless her soul, dealt with antique stores and consignment shops buying and selling.  When she passed away, my sisters and I went to the shops and collected her unsold items.  Surprisingly, we ended up with four chandeliers which have basically been hanging in my garage for several years now until we decide what to do about them.  I see them every day pulling my car in and out of the garage and never really noticed them.... until this week.

Looking for a foyer light to replace the current one, I was on Craigslist, eBay, thrift stores, etc.  Ironically, I found a wonderful light in my own garage - how great is that???

There were a few hurdles before I knew it would be a viable solution.

 #1 - It was wired to plug into the wall and not be wired into the ceiling.
#2 - It was dusty dirty and I wasn't sure it was even in working condition.
#3 - It may be too long and wide for the space in which case it would be hit by the front door.


A little dusty and dirty so I cleaned it up and removed all the crystals...


This is the pile of cord and chain I had to remove in order to prepare it to be wired into the ceiling.


Before I went any further, I plugged it in to see it if would even work and lo and behold.... let there be light!  It worked and I was quite excited that it had the potential to be fabulous.  There is a little metal tag on the top of the light which says MADE IN ITALY - a very good thing!  :-)


So I held it up to the ceiling and NOOOOO!  Say it isn't so!  It was too large for the space and the front door did hit as it was opened.  But I wasn't going to let a few inches defeat me - I was simply going to have to move it - how hard could it be, right?  Time to put the thinking cap on again...

So, I removed the bracket from the electrical box and moved it over and secured it to the wall.  This will provide the mount for the chandelier and leave enough room for the door swing.


I left enough room to fish the electrical cord down through the bolt and not to pinch the cord, and yet kept it close enough to the ceiling so it would be strongly secured.


I used screw-in anchors and it worked perfectly.  This light is very secure and moving it over a few inches completely solved the front door problem.  I will cover this mess with a medallion.  


I cleaned the crystals and hung them over and over until I found a look that I liked.    

For now, I added these black shades I found at Goodwill for  .99 cents, but I will try to find longer shades to hide the a little more of the bulbs and get a dimmer for the option of a softer glow.   I like that this is not a full blown crystal chandelier and yet it has enough subtle bling to glam up my entryway.

I have really come to like the look of this light and the way it looks in my foyer.  But I also find this extra special because my Mom found this somewhere and liked it enough to buy it.   I love that it is like she bought it specifically for me.  How I wish with all my heart she was here to see this and the mini makeover I gave her "find".  I am sure she would be pretty pleased.  Thanks Mom, I love it!

Sunday, September 23, 2012

Foyer Makeover - Day 1 Ceiling and Floors


Source:  HookedOnHouses.net
Well, I am quite pleased with the progress from day 1.  Picture above, of course, is Erica Barry's dining room from everyone's favorite movie, "Something's Gotta Give".  Funny how even though that movie was made in 2003 - almost ten years ago - its gorgeous interiors have stood the test of both time and blogland.  I fell in love with the serenity of her dining room and so I knew in an instant it would be an inspiration for the color in my foyer.   Creamy yellow walls and thick white molding!  So pretty!


I wanted a neutral foyer as it was previously a deep hunter green and floral wallpaper and I was ready for calm.  After looking at upwards of 60 samples of yellow and creamy tans, I decided upon Behr Baby Bee Yellow from the Disney collection.  I bought it in the Spring and here it is now September and I am still quite satisfied with my choice.  


So I decided to paint the foyer ceiling the same color as the walls and I really love the way it looks.  It is hard to tell by the picture but it makes a huge difference.  


Hah - the ugly underlayment complete with manufacturer stamps!  


Next, I turned my attention to my floors.  I cannot afford hardwood floors and I do not want tile back so I think I am just going to fix em, prime em and paint em.  I removed all the staples and filled in the holes.  

I then filled the seams between the underlayment panels with wood filler and sanded it down.  Then I primed them with Zinnser 123 primer for a clean and finished surface


Be careful not to paint yourself into a corner - I left a path to navigate the front door. 
Ironically, it looked like this with the white ceramic tile so I'm back to start.  :-)
Looks quite different already - I'm excited about the changes.  
Day 2 tomorrow - more floor work and wall and staircase preparation commences.  See ya then.