
Here is the finished product with the high gloss varnish for floors. Wow - it really made them POP when I put it on. Just when I thought they couldn't look any better... I love this! It actually kind of makes me laugh - when I came up with the crazy idea, I had no idea they would turn out this realistic looking. So much better than the white ceramic tile... I wasn't a fan. :-)


Ok this is a work in progress but I am so excited that I had to share before they are completely done! How funny is this? This is my underlayment after tearing up tile! I totally love it so far....

I love the deep brown color against the bright white baseboard and baby yellow walls.

Here is more of a close up picture - I know they are EXACTLY like hardwood floors but for the price - which was about $50 including a can of poly for $40, I think they look pretty cool! .

Jumping off point - lovely underlayment flooring complete with staples and paints stains. :-)

This is the typical floor I started with. Big gaps, staples, nail holes, etc. I didn't fix everything because would have taken so much time and it wasn't important to me that they be perfect. As long as they looked great, the holes, scraped and such add character and they look "hand scraped" like in an old Irish tavern.

This type of can opener is my secret weapon for removing staples. It works WONDERFULLY! You put the bent point under the staple and push down. The pointy part can even be used to pry them up. I bought one at GoodWill for a quarter. Try it - you will be so happy they come up so easy will virtually no damage to the floor.
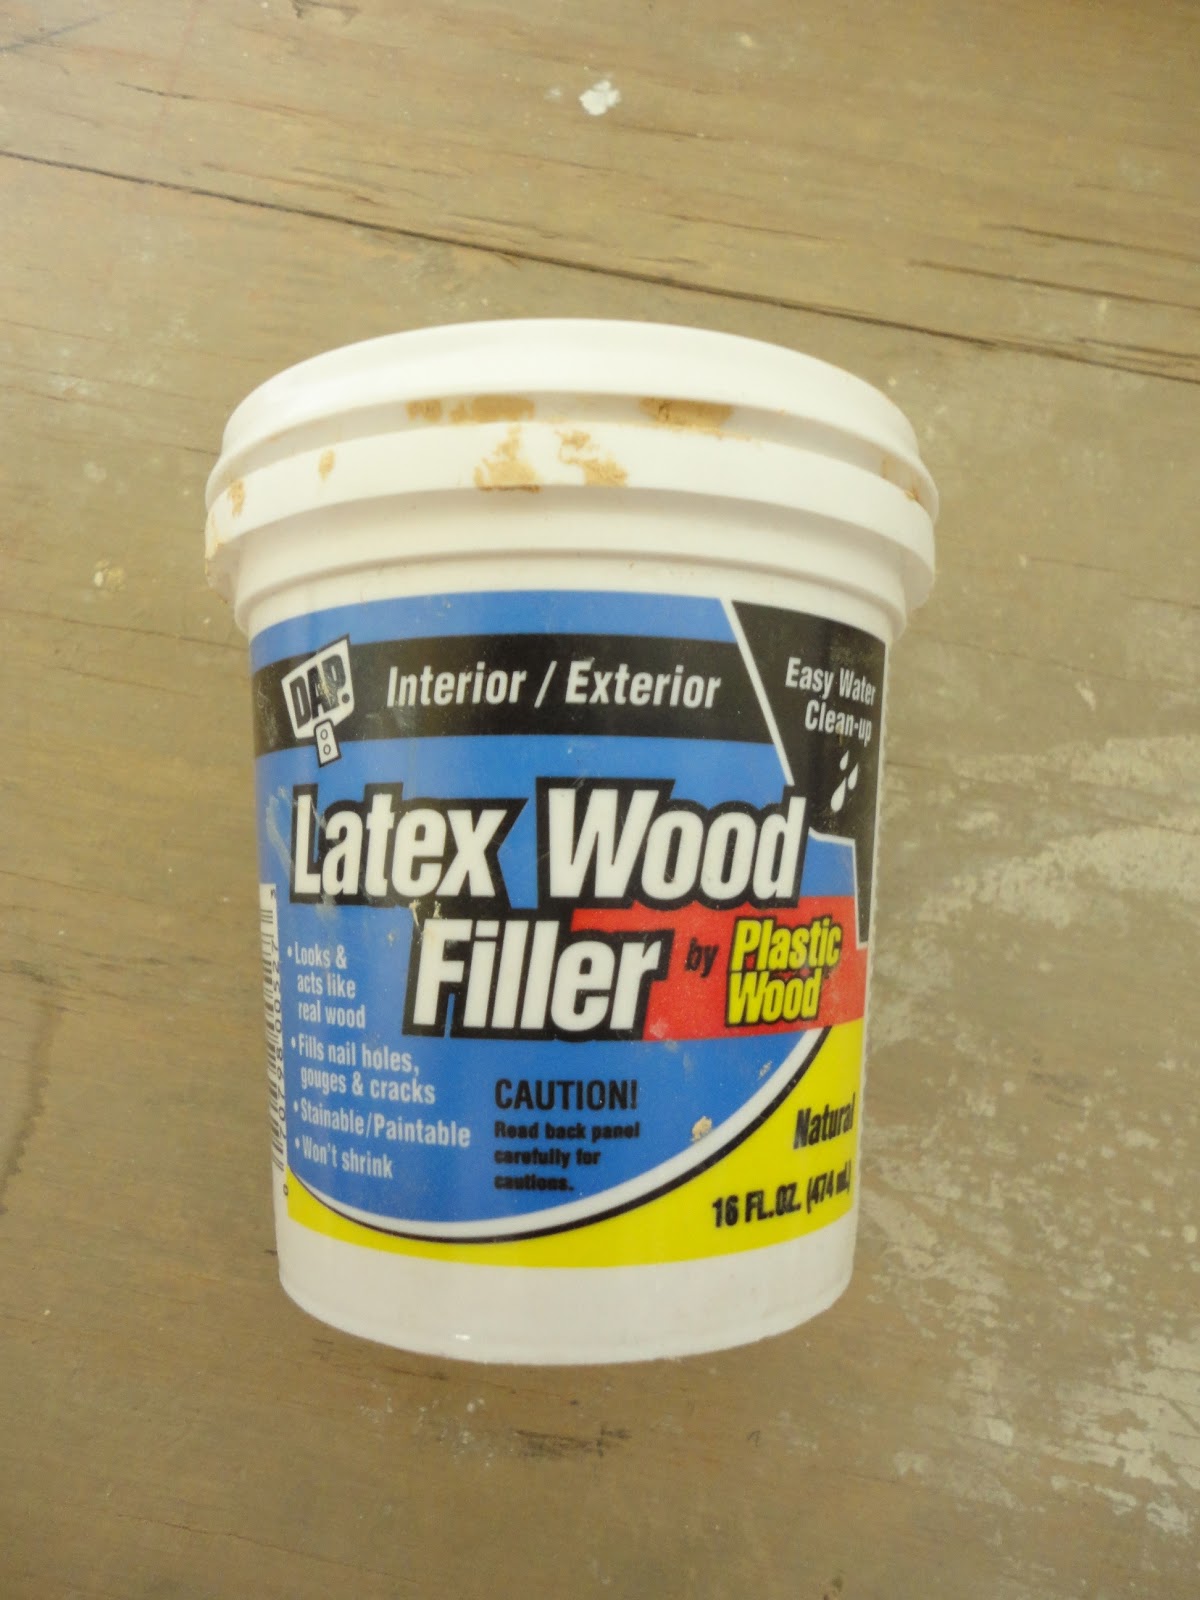
Any of the large gaps and staple holes, I did fill in with DAP latex wood filler. I used a lot of this stuff along with a putty scraper to make sure the surface was as smooth and level as possible.

After it was all filled in, it looked like this. Then I primed right over it for a smooth surface.

This is where I left off on day one when I got to this point. Fixed and primed with white primer - a smooth surface just waiting for something....

So I found brown Porch and Floor paint on clearance at Wal-Mart for $5.00 a gallon - YUP - only $5 bucks so I bought two gallons. It helped but still wasn't what I was looking for.

So I bought a pack of thick Sharpies and proceeded to add "plank lines" to see if that would give it a more realistic look. Well it helped but it was still so BROWN.


Enter the faux woodgraining kit. I have seen everyone use this on doors and tables but never on floors but I figured why not - if it as disaster, I can always paint over it. I made a black glaze out of black paint and a touch of water and started to experiment.

I brushed the glaze on and then used the woodworking tool to make knots and lines. It was actually fun! And when I stood up and looked at the progress - R U KIDDING ME? They looked Sweet!

This is the result I came up with. The floors are dark, the holes and dings and other imperfections make them look like they are "hand scraped" how funny is that?
I still have to touch them up and add a few coats of poly but I think they are awesome! Someday I will be able to afford real wood floors but until then, these will do just fine.
I absolutely love the result and will probably continue it into my living room and dining room as well.
Linking up:

That is incredible - you may have just solved my bare bathroom floor dilemma.
ReplyDeleteHi Claudette! Thanks for stopping by. This would look awesome in a bathroom. I just put a layer of gloss poly over them and I am going to post it this week once I get the base molding installed. I was quite surprised they look even better and I am more thrilled. :-)
DeleteOh Wow! Tracy that just looks amazing... I saw your post on Hometalk and just had to come on over and see how you did this ..You Clever little cookie..:)I've seen those Faux wood graining Kits at Home Depot when I used to work there but I've never actually tried to use one... Maybe today is the Day i need to start LOL!.... Thanks For Sharing and your entry way looks Fabulous... I l♥ve you front door BTW..:)
ReplyDeleteCheers Tania
http://tcdesigns1968.blogspot.com/
Thank you for your awesome compliments Tania! :-)
DeleteThis is an amazing project! Love the outcome! Kudos to your courage or your would not have this fantastic floor! Good tutorial as well!
ReplyDeleteI know - it was a little daunting to try this but hey - it is only paint right? Thanks!
DeleteI'm so thrilled to have found your site. This is exactly what I need to do to my kitchen floor. Love, love the idea. Thanks for sharing.
ReplyDeleteThank you for stopping by. :-)
DeleteI am super impressed. I told my husband that this is what I wanted to do with my floors. Well, after much debate, I was told..."Can't be done". So after about $250 & a lot of hard work we had laminate floor in my dining room. I want to continue into my living room & kitchen. This is the answer to my prayers! Thank you thank you thank you!
ReplyDeleteGreat idea. Who would have thought they would have turned out so pretty? I may try this on my stairs!
ReplyDeleteI am so thrilled to find this project as I just did the same thing at camp this summer. I have to say I like yours better than mine :( Yours definitely look hand scraped, that is awesome. I haven't laid down all the black lines on mine yet, just in the bedroom. I am thrilled with the way mine turned out, but you must have a bit of a different technique than me because I like your grain better. I couldn't get a good picture, but now I have a new camera so when I get back there I will try for another one. I say that mine looks more like laminate flooring than hardwood, but it is such an improvement from bright yellow gloss that the last owner painted them that I'm still very happy. I rarely meet anybody that is as "crazy" as I am, so I'm happy to find you ha ha. I'm going to have a look at the rest of your blog and I would be happy for you to come have a look at mine.
ReplyDeleteFaye (MacGIRLver) libler@blogspot.ca
Hi, I am a new follower. I found your DIY floor project on hometalk. What a great job! Anna
ReplyDeleteHi Anna! Welcome and thank you so much for becoming a follower. So glad you like my floors. I have a lot of projects scheduled for the coming weeks. Enjoy your Thanksgiving weekend!
DeleteI might be doing something with an ugly subfloor too someday. How are yours holding up? Can you email me telling how things are going with them? nikiforo7 aol com.
ReplyDeleteWow wow wow! What a transformation! My mom would die if she saw these. She just simply cannot think outside the box! Haha! Hubby and I would be keen on doing this if we knew the result would be long lasting...we have two indoor dogs..that's the caveat.
Thanks!
Hello! Thank you for the compliment. I only put one coat of poly on them just to be able to wipe off paint as I finish the painting, trim and molding. I plan on putting three more coats of clear gloss on them. Even with one coat of varnish - they are doing amazingly well. It is nice that I can use a wet towel to clean up any snow and slush and I don't have to worry about ruining the floor. What is nice that if they get a little beat up - you take an hour and throw another coat of varnish on and they look good as new.
DeleteI love your floor! My husband and I are going to do this to our living room and dining room. Could you tell us what brand and exact color on the porch and floor paint from Wal-Mart? We also wondered what brand and color you used for the glaze? Also, how much water did you add to the black paint? Lots of questions. :) We love your finished product and want to duplicate it as much as possible. Thanks!
ReplyDeleteHi Charity! Thank you! I am not sure what the brand was but the color was literally "BROWN". I used a Martha Stewart black paint although Rustoleum or Valspar would also be fine. As far as the water/paint ratio - it changed every time I mixed a new sample. I mixed it in a jelly jar so that way I could cover it and also shake it to mix. I would find a corner and experiment. You want more water than paint for sure. If you don't like the result - just roll the brown paint back over the test patch and try something new in another corner. Once you get the feel for it - you can do a lot of space in a little time. GOOD LUCK! Let me know how it goes. Hoping to get my living room and dining room done as well in November!
DeleteHi Tracy, My name is Anne Arntson and I am the Editorial Production Assistant for HouseLogic.com. I wanted to touch base with you regarding an image of yours we used in a 2015 article on affordable diy flooring, thanks to our partnership with HomeTalk:
ReplyDeleteWe recently redesigned our website and are in need of a high-resolution version of this image. Can you send me an email? aarntson@houselogic.com. I'll explain the details. Many thanks!
Hello! Yes! Once I find it - its on its way. Thank you!
ReplyDeleteJust started my floor( used a acrylic satin) the room is hardly used...anyhow I bought oil base polyurethane for floors can this be used since I painted with a acrylic?
ReplyDeleteI believe that would be absolutely fine! I also used acrylic paint and it all came out fine covering and sealing with the poly. Good luck! Let me know how it goes. Thank you!
DeleteThis comment has been removed by a blog administrator.
ReplyDeleteThis comment has been removed by a blog administrator.
ReplyDeleteThis comment has been removed by a blog administrator.
ReplyDeleteThis comment has been removed by a blog administrator.
ReplyDeleteThis comment has been removed by a blog administrator.
ReplyDeleteThis comment has been removed by a blog administrator.
ReplyDeleteThis comment has been removed by a blog administrator.
ReplyDeleteThis comment has been removed by a blog administrator.
ReplyDeleteThis comment has been removed by a blog administrator.
ReplyDeleteThis comment has been removed by a blog administrator.
ReplyDeleteThis comment has been removed by a blog administrator.
ReplyDelete